 F12 Labs
How to add a Google map to a Shopify page
Shopify's page editor has no map, and Dawn has no map section. The native options (Google's embed code in the HTML view, a Custom Liquid section on a page template), where each stops, how to put a map on your contact page, and how to add one without code.
If you have a shop, a showroom, a pickup point or a garden center, shoppers want to know where it is. A map on your contact or "Visit us" page answers that at a glance, and the shopper can tap it for directions.
Shopify doesn't have a map element for pages. Here's what you can do natively, where each route stops, and how to add a map without touching code.
Get the embed code from Google Maps
Every native route starts with Google's embed code. In Google Maps on a computer, find your address or business, click Share, then Embed a map, and copy the HTML (Embed a map). It's an <iframe>: a small window onto Google Maps.
Google notes you can't embed a map with your saved places or a distance measurement (Embed a map). For one address, that doesn't matter.
Paste it in the page's HTML view
Shopify pages use the rich text editor, which has a button to view the page's HTML. Shopify describes pasting embed codes from services such as YouTube or Vimeo into the editor (Rich text editor), and a map's embed code goes in the same way:
- In Online Store → Pages, open the page.
- Click the HTML button in the editor's toolbar.
- Paste the code where the map should go, and save.
It works, with catches:
- The size is fixed. Google's code sets a width and height in pixels. A map wide enough for a desktop can run off the side of a phone unless your theme shrinks it, so check the page on your phone, and edit the numbers in the HTML if needed.
- The editor may change your code. Shopify says the editor "automatically corrects HTML formatting to prevent storefront malfunctions and security risks" and warns that HTML "might cause display errors on your storefront" (Rich text editor). View the page after saving.
- Changing it means HTML. A new address or a different zoom means getting new code from Google and replacing the old one.
A Custom Liquid section on a page template
Online Store 2.0 themes such as Dawn have a Custom Liquid section with a single Liquid code field, for "app snippets or other code" (Dawn's section code). Plain HTML works there, so the map's embed code can go in it. Dawn has no map section of its own (Dawn's sections). Some other themes do have one, often needing a Google Maps API key from you (an example from Archetype Themes).
Sections go on templates, and "when you edit a template, your changes apply to every page that uses the template" (Templates). So:
- In the theme editor, create a new page template (for example
visit-us) based on the default page template. - Add Custom Liquid, paste the embed code, and save.
- In Online Store → Pages, open your page and choose the new template under Theme template.
The limits:
- The map lives in the theme, not the page. You change it in the theme editor, and it stays behind in the old theme when you switch.
- One template per map. Every page on the template shows the same map; a second location needs a second template.
- Its place is fixed by sections. The map sits above or below the page's text, not beside the opening hours in a column.
- Still the same embed code, with the same fixed size.
Your contact page
Shopify's contact page is an ordinary page with the contact template. Shopify shows the page's content above the form (Add a contact page). So a map pasted into the contact page's HTML view shows above the form, and a Custom Liquid section can go on the Contact template in the theme editor, above or below the form (Add a contact page).
Where each one stops
| You want | HTML view | Custom Liquid section |
|---|---|---|
| A map on the page | ✓ | ✓ |
| Edited where you edit the page | In HTML | In the theme editor |
| Fits phones without editing code | ||
| Beside text, in a column | With HTML | |
| Survives a theme switch | ✓ | |
| No code |
What's missing is a map you place on the page like any other block: type an address, pick a zoom, done, sized to fit any screen.
Adding a map in Aedify
That's how Aedify, our page builder, handles it. The page is an ordinary Shopify page, and the map is part of it.
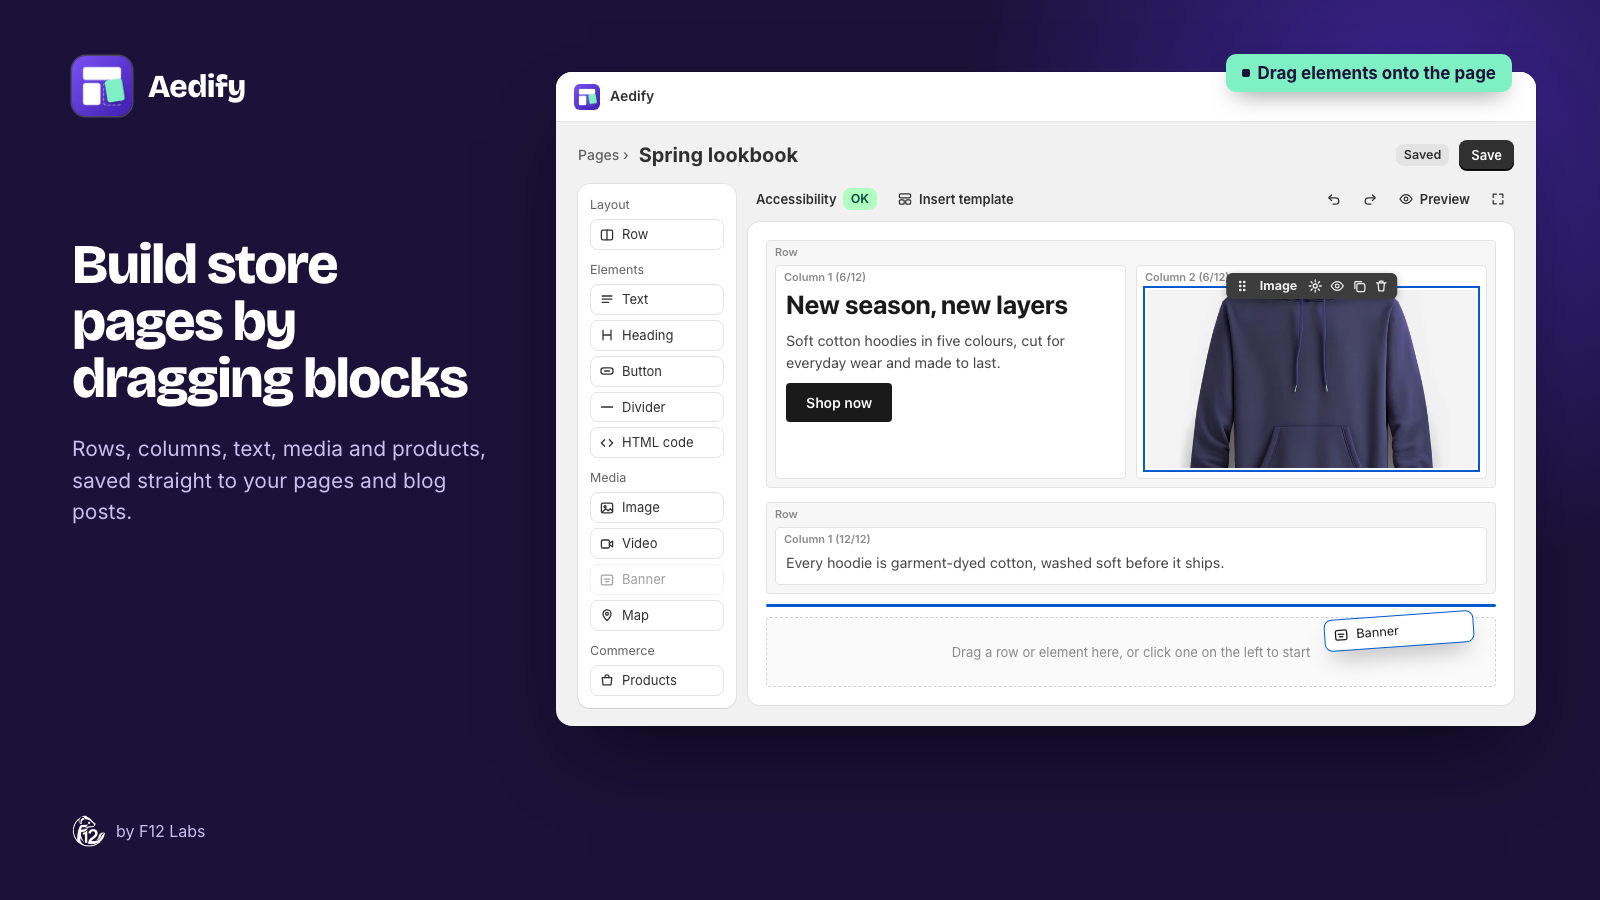
- Type an address. Drag a Map from the Media group of the palette and enter an Address or place, as you'd type it into Google Maps. No embed code and no API key.
- Pick a zoom, from Region to Building. The default is Neighbourhood.
- Set a height (400px by default). The map fills its column's width, so it fits a phone as well as a desktop.
- Put it beside your details. In a two-column row, the map goes on one side and your address, opening hours and a "Get in touch" button on the other. On phones the columns stack.
- Named for screen readers. The map gets a Title, "Map of" and your address unless you write your own.
- Loads when it's needed. The map loads only when the shopper scrolls to it, so it doesn't slow the top of the page.
Setting it up
- Install Aedify and turn on the styles embed in Storefront setup. The map's height and width come from Aedify's styles.
- Click Create → Page, title it, for example, "Visit us", and click Create and open builder. Or open your existing contact page.
- Add a row with two columns. Drag a Map into one and type your address; put a Heading, Text and a Button in the other.
- Tick Visible on storefront and save.
- For a contact page, choose contact under Theme template in Shopify's page editor, so the form shows under your content. If your contact page uses live elements such as Products, add the Aedify content block to that template too (Alternate templates).
Images, video, banners and maps covers the map's settings, and Rows and columns covers the layout.
Tips for a "Visit us" page
- Put the address in text too. A map is a picture to search engines and hard to copy from. Write the address, phone number and opening hours next to it.
- Check the pin. Open the page and make sure the pin is on your door. If the street address lands in the wrong spot, try your business name as it appears on Google Maps.
- Zoom so landmarks show. Streets helps someone find the door; City helps someone decide whether to make the trip.
- Say how to get there. Parking, the nearest bus stop, which entrance. The map doesn't say any of that.
- Keep it current. If you move or change hours, update the page the same day.
Shopify behavior checked on 5 November 2026 against Shopify's documentation: Rich text editor, Templates and Add a contact page; Dawn's Custom Liquid section and section list from its source on GitHub; Google's Embed a map help page.